
1
/
of
4
cozyshopstl
Holiday Dough Magic: Ornament Crafting Kit
Holiday Dough Magic: Ornament Crafting Kit
Regular price
$28.00 USD
Regular price
Sale price
$28.00 USD
Unit price
/
per
Couldn't load pickup availability
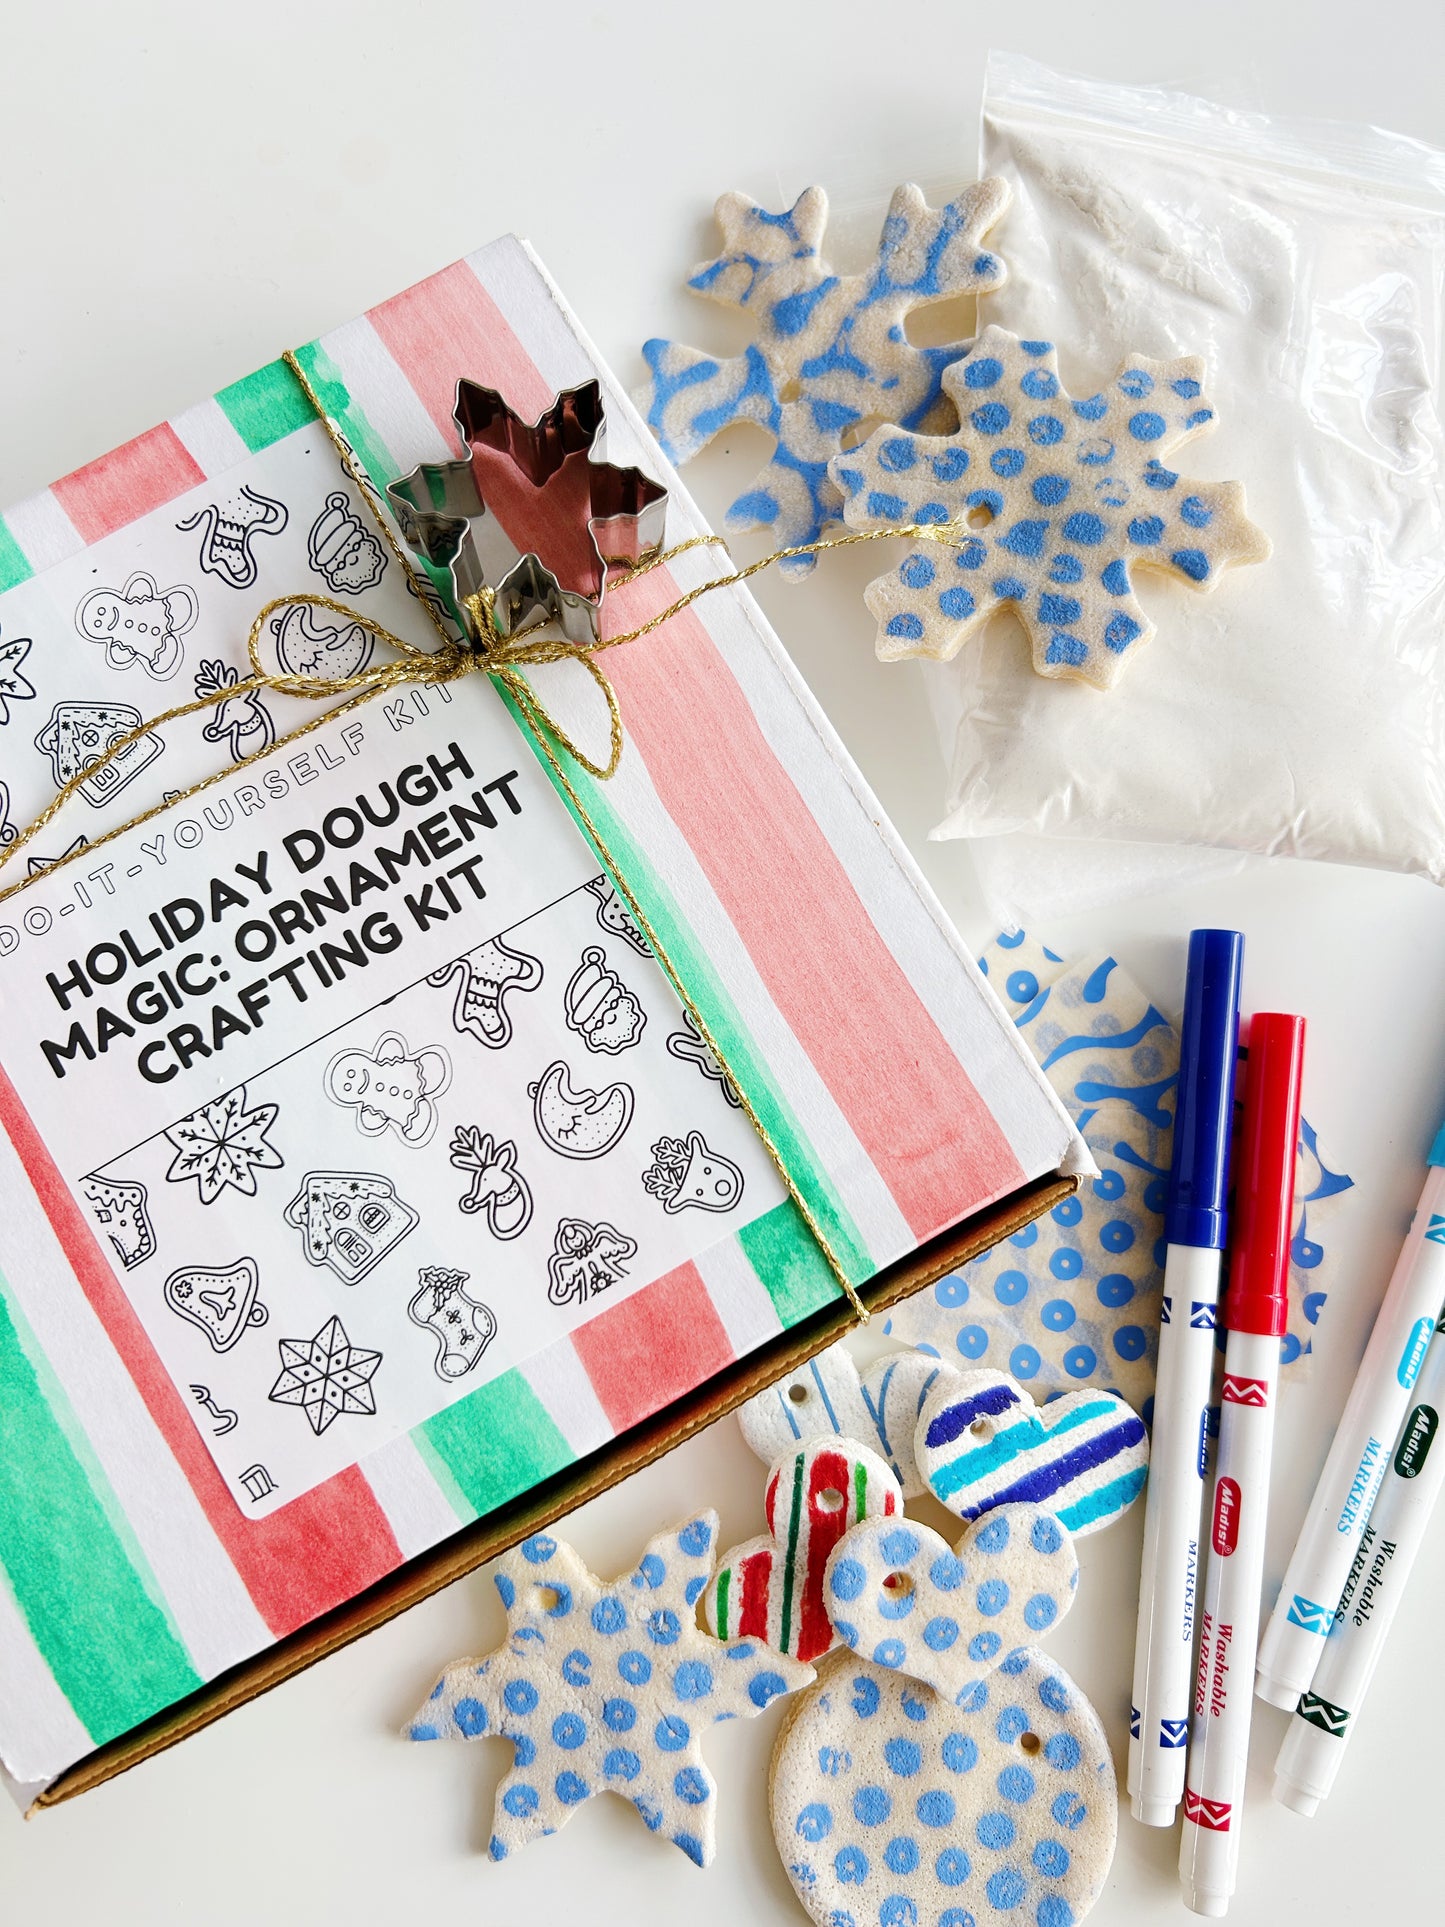
Ho, ho, ho! Gather 'round, merry crafters, for a jolly adventure in creating enchanting Holiday Dough Magic: Ornament Crafting Kit! Get ready to whip up a batch of festive fun perfect for adorning your tree with holiday cheer. And remember, these delightful decorations are strictly for admiring, not nibbling!
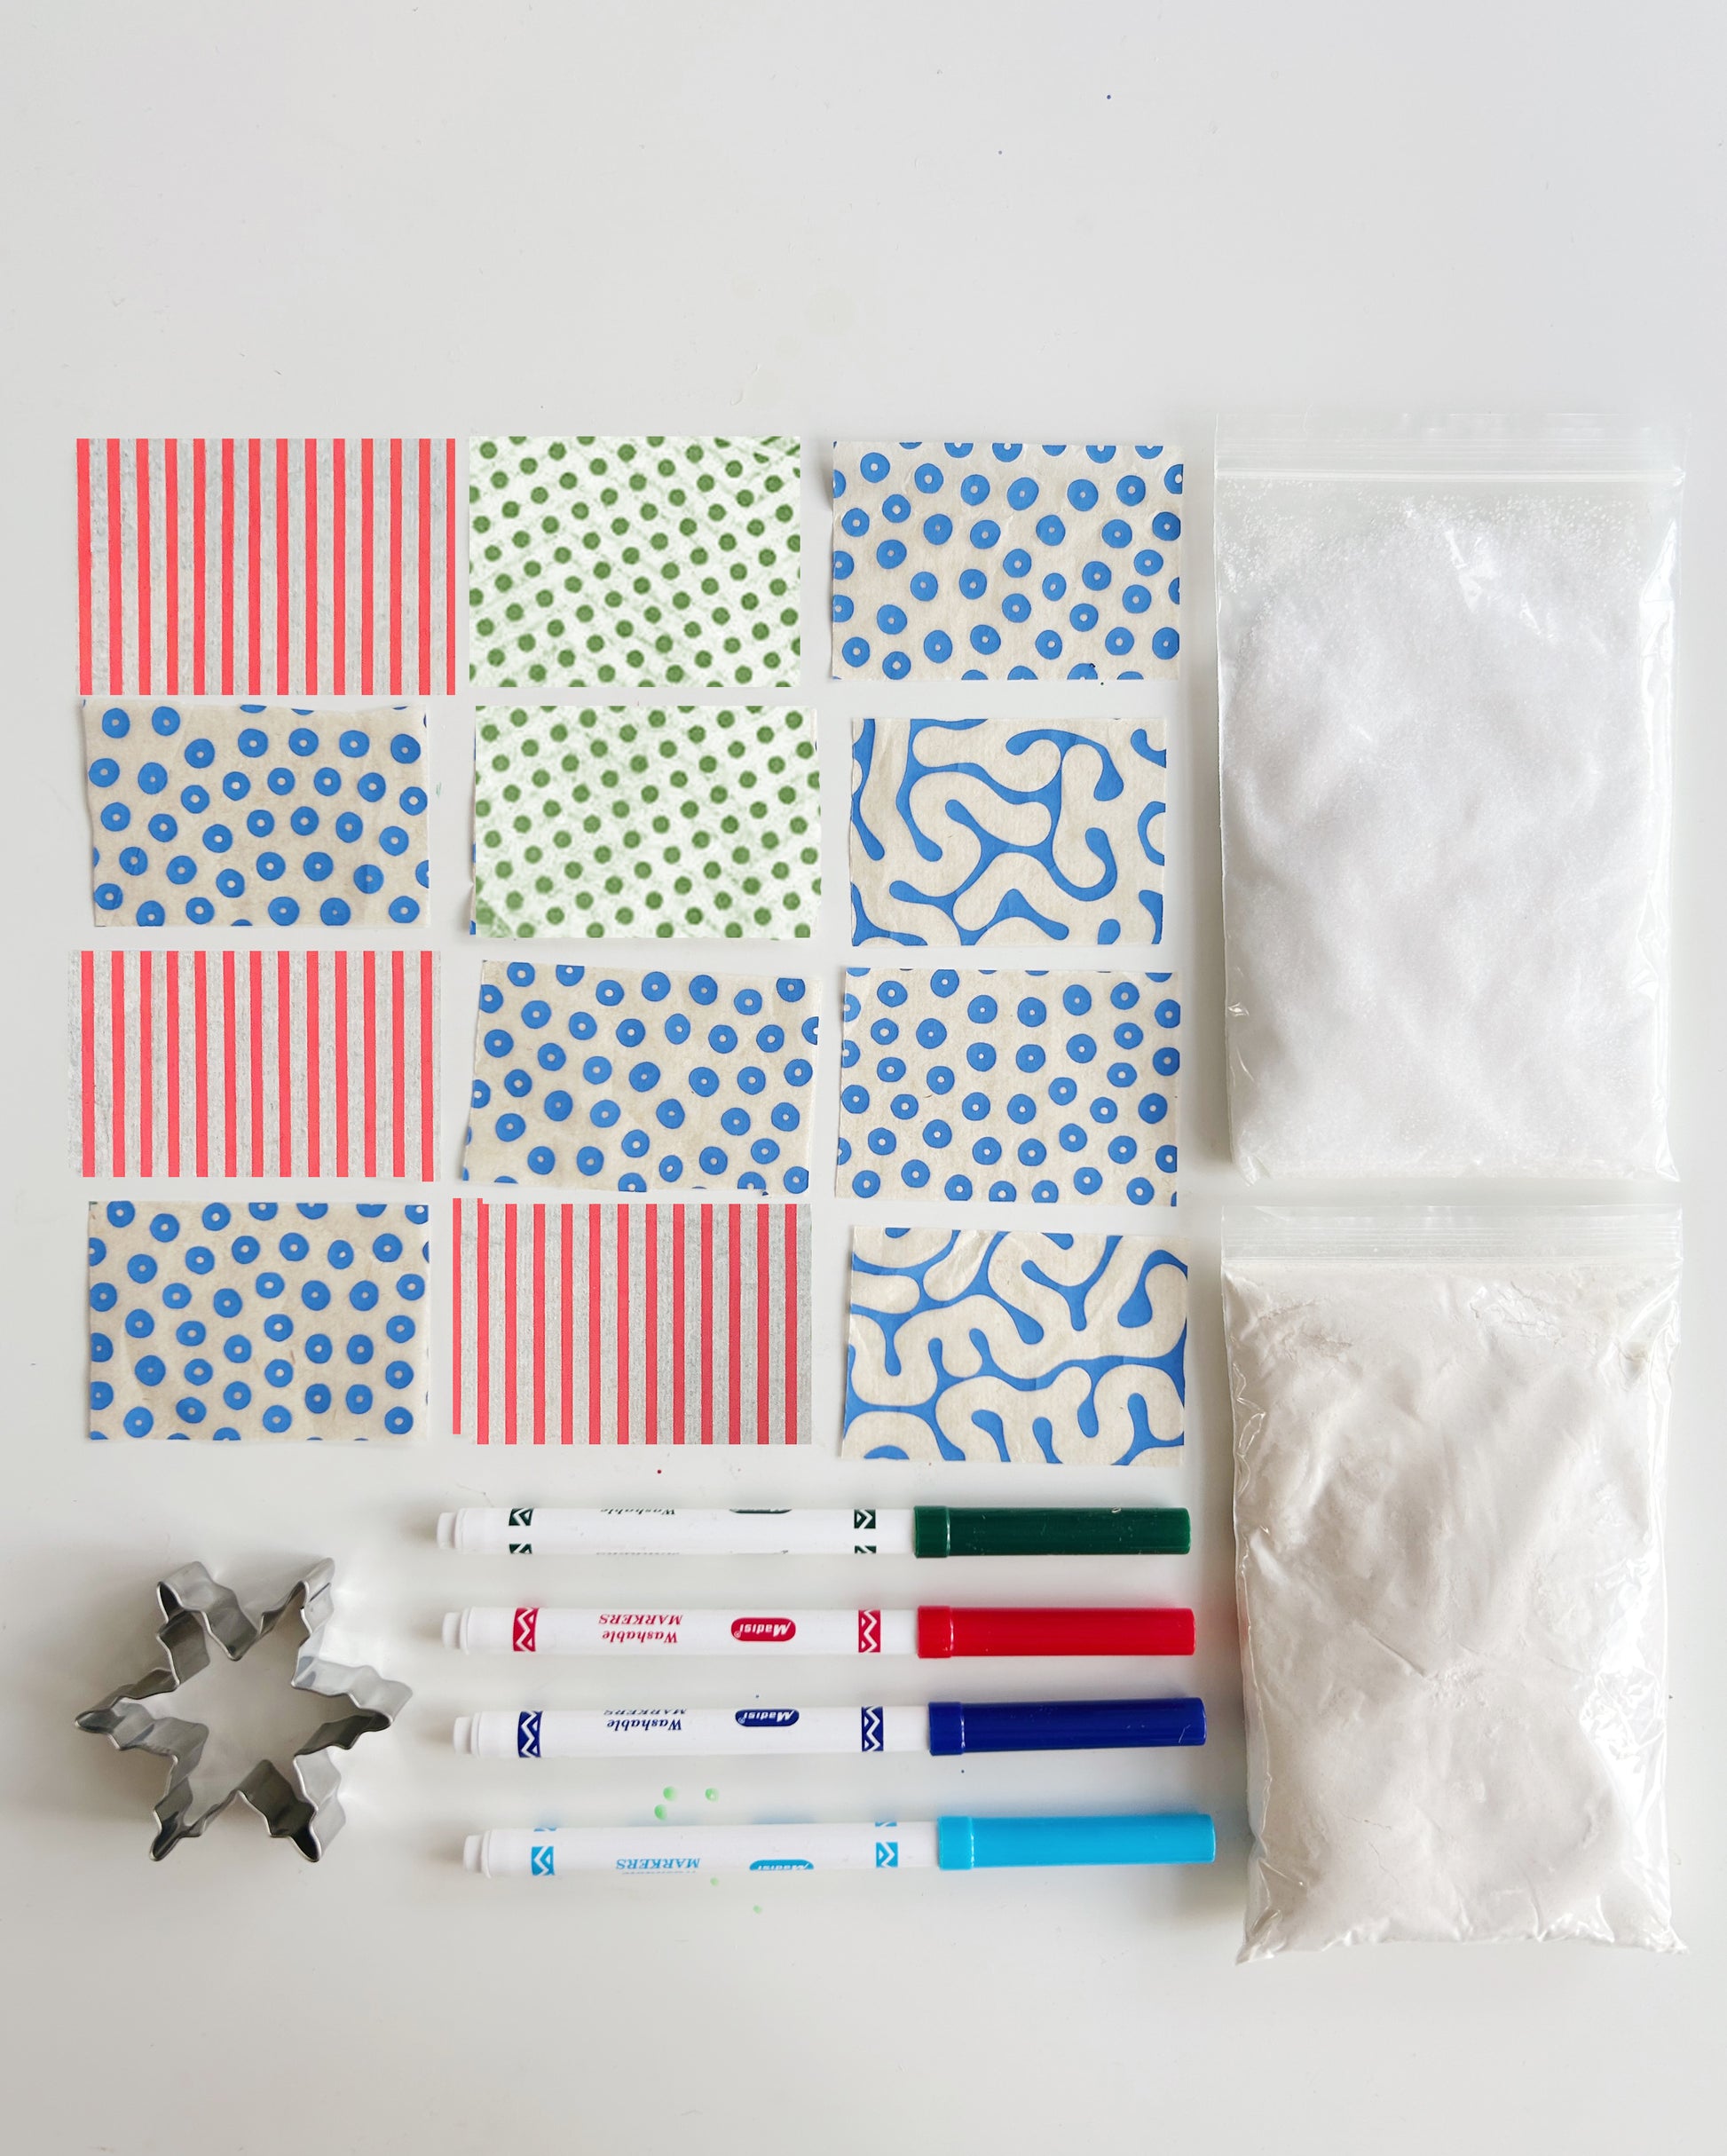
Your Kit Includes
- Dough dry packet
- Markers
- Image transfers
- Cookie cutter
Extra Ingredients Needed:
- Mixing bowl
- Rolling pin
- Extra cookie cutters
- Baking sheet
- Oven
- Adult supervision
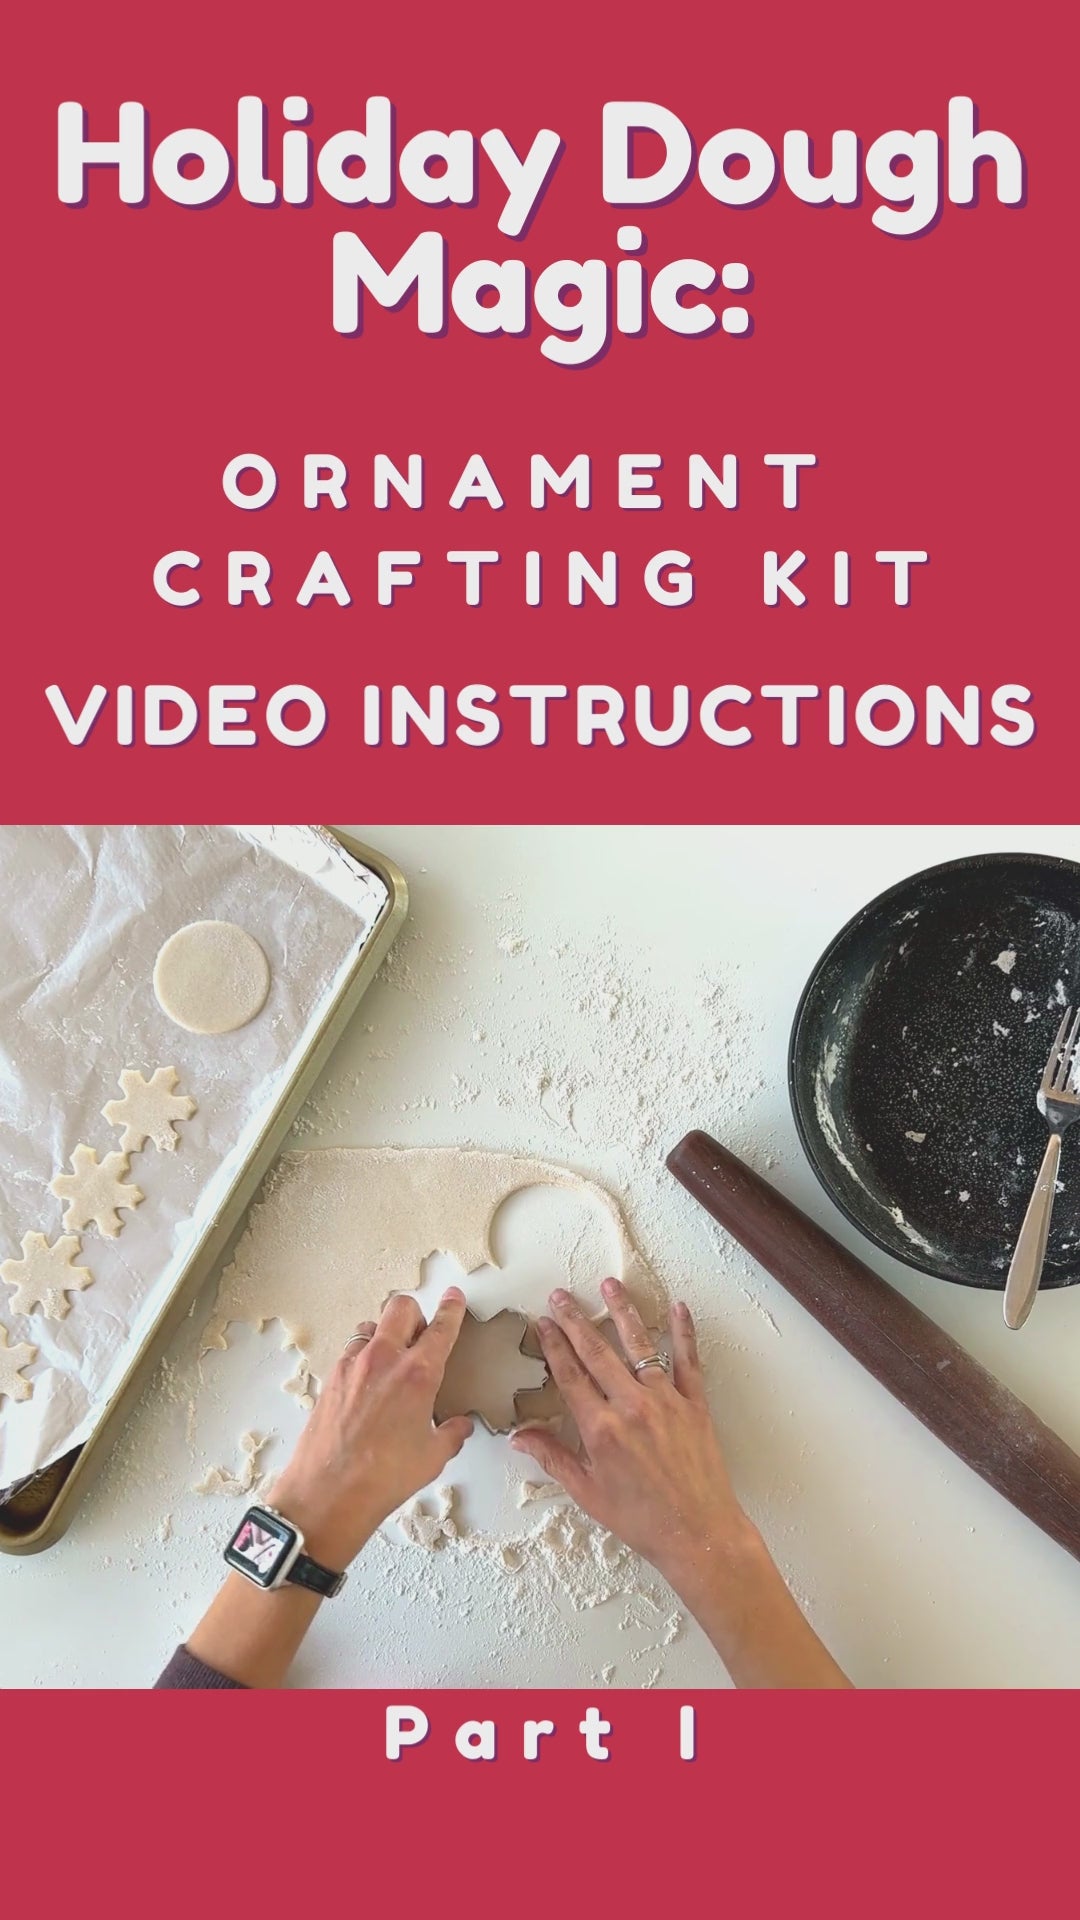
Let's Get Crafty:
- Mixing Magic: In your mixing bowl, combine the dry dough ingredients. Pour in 1/4 cup of cold water. Stir like you're stirring up a snowstorm, stir until a magical dough forms. If it's feeling too dry and crumbly, add more water a little bit at a time.
- Knead to Believe: Sprinkle your workspace with a bit of flour (Santa's secret for mess-free crafting). Roll up your sleeves and knead the dough as if you're kneading dough for mini snowmen. Keep kneading until it's smoother than a sleigh ride.
- Shape Shifter: Roll out the dough using your rolling pin (like making a snow angel, but flatter). The dough should be rolled out to about ¼” think. Use those cookie cutters to create shapes that even Frosty would admire. Place your creations on the baking sheet, but don't let them escape like gingerbread folks tend to! ** Don't forget to create a small hole in every ornament, enabling you to attach a string for hanging your ornaments on the tree once your masterpiece is complete.
- Dreamland for Dough: Set your ornaments aside for an overnight nap in the fridge (rest for at least 4 hours. This beauty sleep will make them extra strong for the festivities ahead.
- Baking Magic: Preheat your oven to 200 degrees Fahrenheit. Pop your ornaments in for a 2-hour baking adventure. Remember, these are not Santa's cookies, so no snacking!
- Cool Yule: Once your ornaments are dried out like a Christmas Tree on January 3, let them cool off completely like snowflakes settling on a quiet winter night. They'll be ready to dazzle in no time.
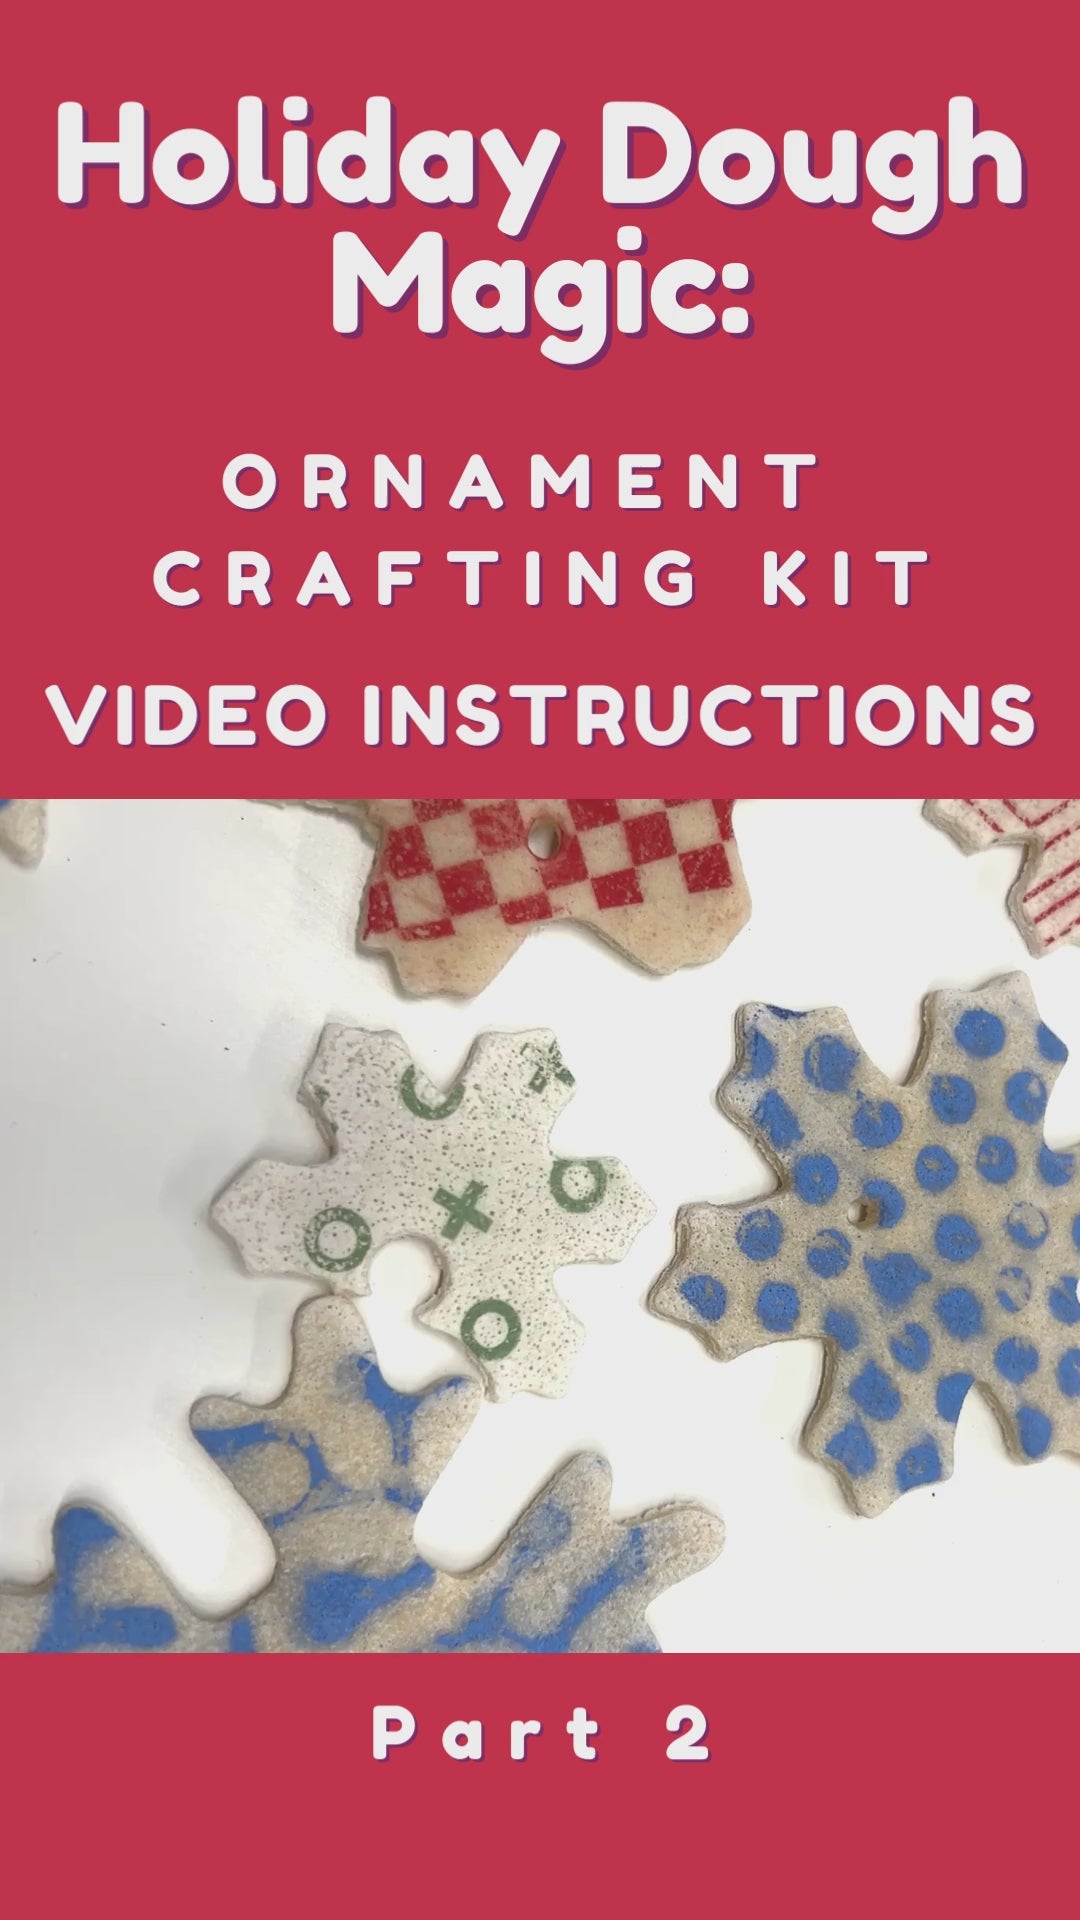
- Tattoo Time: Unleash your artistic flair! For those aged 8 and up, use the image transfers to decorate your ornaments with festive colors and designs. Similar to applying a temporary tattoo - wet down the surface of the ornament. Gently press the image transfers onto your ornaments gently dabbing the back of the image transfer with a damp cloth. Pull back the image transfer paper revealing your festive design! Ask a grown-up to help if the North Pole magic is a bit tricky.
- Kid Creativity: Little ones aged 3 and up can dive into decorating with markers. Create your own holiday masterpiece! Just remember, markers are for ornaments, not for drawing on the cat or Santa's nice list.
- Show 'Em Off: Hang your splendid creations on the tree with care. Admire them from near and far, and don't forget to remind everyone that these ornaments are like snowflakes—unique, delicate, and definitely not for snacking!
Important Reminder: These delightful decorations are strictly for decking the halls, not for nibbling or munching. Keep them out of reach from curious critters and little ones who might mistake them for cookies!
Happy crafting, and may your holiday season be as magical as a snow globe scene straight from Santa's workshop!
Share